What are guidelines and how to make them?
- The Bombay Lettering Company sanjana@bombaylettering.com
- Oct 25, 2021
- 2 min read

Updated: Apr 7, 2022
If you’ve been doing Calligraphy for a while or have just gotten started...
I’m sure you would have come across the concept of “Guidelines”
Guidelines are a crucial part of learning any script, let’s look at it in terms of copperplate calligraphy.
What are Guidelines?
Guidelines are a group of lines that assist in writing with rhythm and consistency by helping determine the size and proportion of letterforms.

Let’s understand the Terminology.
The above figure shows the use of guidelines. The letter sits on the baseline and the line above it is the waistline. The X height is the distance between them where the main body of the letter rests.
Ascender is the part of the letter that extends above the X-height whereas descender extends below the baseline. The 55-degree slant line is the line along which the letter should be angled.
The guideline shown above is designed in a 2:1:2 ratio, now you may wanna ask, what are these ratios about?
By 2:1:2, we mean two parts of ascender:1 part of X height:2 parts of the descender. For example - if our X-height is 5 mm then our ascenders and descenders would be twice of it which is 10 mm.
Another ration that’s commonly used is 3:2:3. We've got to experiment and determine what works best for us but 2:1:2 is the most recommended for beginners.
Why do we need them?
These guidelines help you create uniform letters which are consistent in height, proportion, and most importantly angle (especially when you’re learning a slanted script like copperplate)
How do we make them?
Now here are a few ways that you could go about…
1. Draw them manually: This is the most basic and fundamental method where you draw the guidelines manually. I would recommend using Copperplate Rulers made by Aquino, they are handy lining tools. Each ruler is the size of a credit card and is suitable for daily practice, lining on small cards and envelopes. In fact, you can also use it for creating guidelines for your big pieces later on.


I’m also adding a tutorial here created by Aquino himself that’ll help you understand the use of this tool.
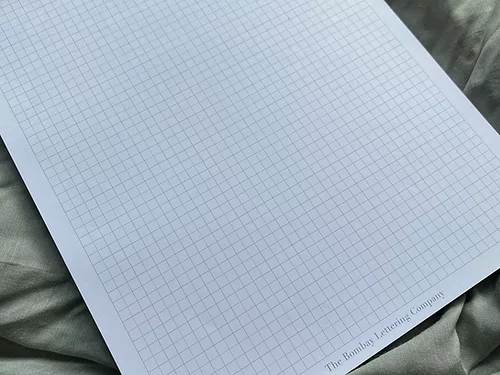
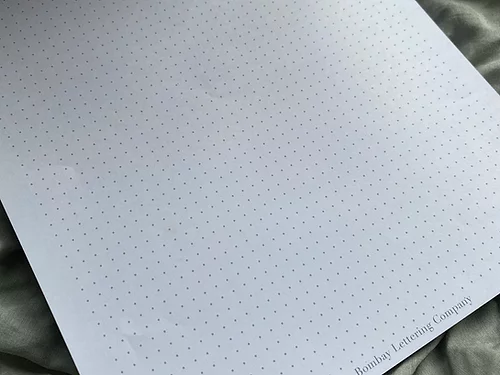
2. Practice pads: We at The Bombay Lettering Company have created a wide range of practice pads to save you the time and energy that goes into creating your own guidelines. We have practice pads available in 5mm and 8mm (most recommended for beginners) and some additional grid and dotted pads as well.


3. Print your own guide sheets: Another option is to print your own guide sheets on calligraphy-friendly paper. The paper should be 100 GSM+ and bleed proof for you to be able to practice on it, JK Cedar is a recommended brand.
You must be wondering, but where can I get the guide sheets from? We've got you covered, we have a FREE pack of guide sheets of different X heights for you.
Click here to grab yours now!
If you have this helpful, leave a comment and let us know and share it with your Calli-friends too who may learn from this!
Feel free to drop in comments if you have any doubts, we'll be happy to help you :)


Comments